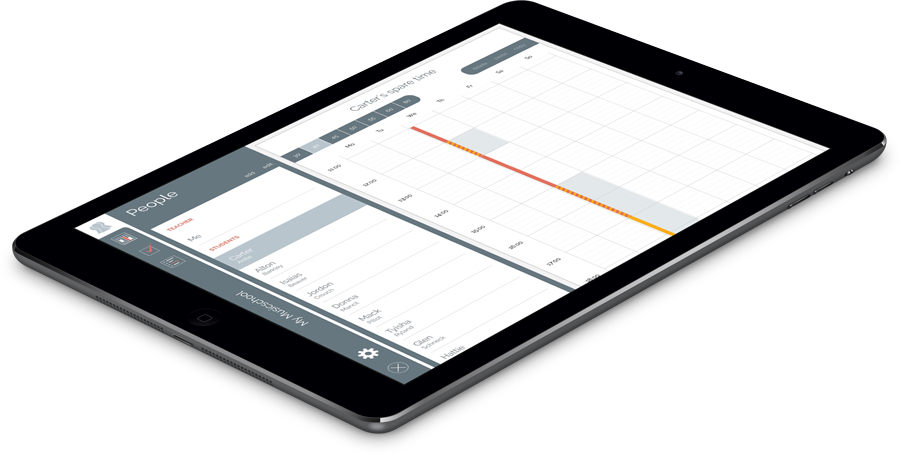
People Tab
 The People Tap is where you add the students and their spare time to Lesson Planner.
To compute a timetable enter your desired teaching time and the free time frames of your students. You can see a red dot next to the student's name if you and the student have not enough overlapping spare time.
Add students to Lesson Planner
To add your students to Lesson Planner do one of the following:
- Add students manually: tap the 'add' button above the People List and enter the student's name in the following dialog box with the keyboard.
- Import from contacts: tap the 'import' button above the People List.
Enter your desired teaching time frame
Select 'Me' in the People List and enter your desired teaching time frames on the right side.
- Enter new: tap and hold to enter a new time block. Drag it to the desired position and release. Adjust start / end time as shown below.
- Delete: tap the time entry you'd like to delete. Select 'delete' in the context menu.
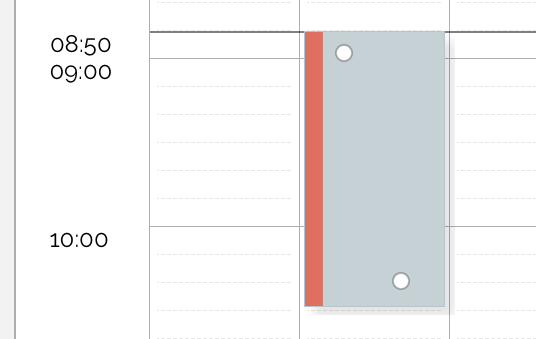 To adjust the start time, tap and hold the upper left circle, then drag. To adapt the end time, do the same in the lower right corner.
Enter the free time frames of the students
Select each student in the People List and do one the following:
- Enter new: tap and hold to enter a new time block. Drag it to the desired position and release. Adjust start / end time as shown above.
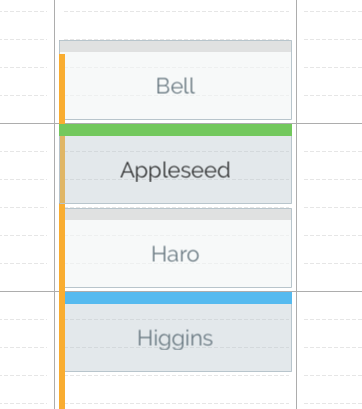
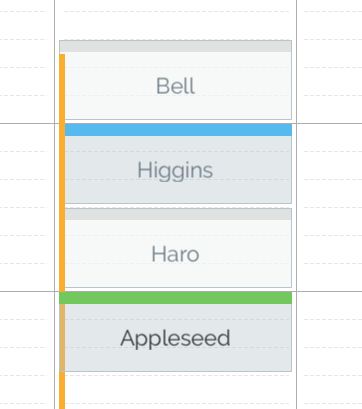
- Copy: if some students have the same schedule, you can copy their free times to the clipboard and paste it to other students: tap a free time and then 'select' in the context menu. You can extend the selection by tapping more free times. Then tap copy in the upper right corner. Select a different student in the People List an tap paste.
- Delete: tap a free time and then 'delete' in the context menu. You can also select several free times as explained under copy and delete all together with the 'delete' button in the upper right corner.
Select the lesson duration
Choose the appropriate lesson duration for each student in the Lesson Duration Bar. In case your desired lesson duration is not visible, you can change it by tab and hold as shown below.

Tap the appropriate lesson duration for the student...
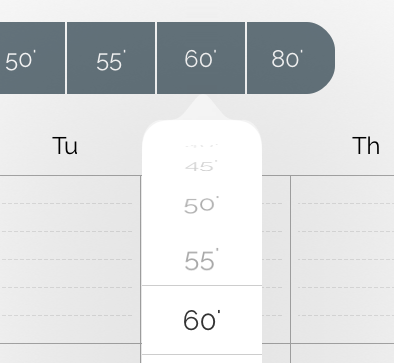 or change it by tapping and holding a lesson duration. This will open a context menu, where you can change the shown duration.
Change colors
To group or differentiate the students select the color. Also you can change the color of the lessons in the timetable tab.
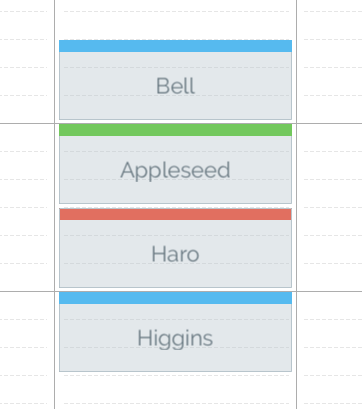
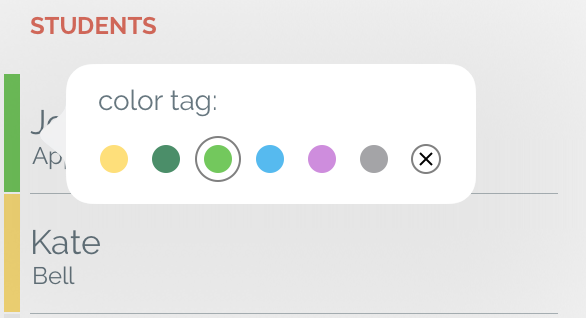 You can choose a color tag for a student by tapping left to his name.
Delete students
To delete students do one of the following:
- Press the 'edit' button above the People List. Tap the '-' button and then 'delete'.
- Swipe the student to the left and tap 'delete'
 The Timetable Tab is where you compute, edit and export the timetable for the current school. Before computing a new timetable, you have to enter the corresponding times in the People Tab.
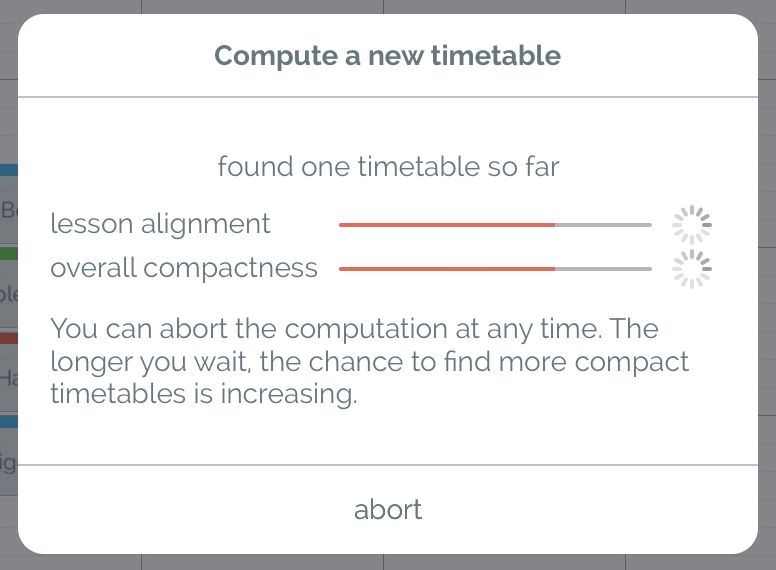 The progress bars tell you the following:
 The Attendance Tab is where you keep track of your students' attendance.
 The Journal Tab is where you enter tasks for students and notes for each lesson. Tasks will appear in every new journal entry until you mark them as completed.